Besides the camera, there are many pieces of equipment and accessories you’ll need. There are so many options, it can be overwhelming. In this section, we will go through the most common types of equipment you’ll need in order to get started in photography.
Crash Course Series
- Introduction
- History of Digital Cameras
- Equipment and Accessories
- Types of Photography
- Exposure and Composition
- Choosing Your Equipment
- Practice
- Additional Resources
- eBook
Memory Cards
Memory Cards come in a variety of shapes, colors, and storage capacities, and fortunately, only a few major types. SD (Secure Digital) and CF (CompactFlash) cover nearly every memory card you’ll come across. MicroSD and proprietary formats like Fujifilm xD Picture and Sony XQD also exist, but are much less common.
SD cards are just over an inch long and are readable by many cameras, tablets, computers, and other digital devices. The different names give you a clue as to the capacity of the SD memory card. Basic SD cards have a capacity up to 2 GB. SDHC (Secure Digital High Capacity) have a maximum storage capacity of 32 GB. SDXC (‘Xtra’ Capacity) can hold 2 TB or more, but keep in mind that each type is not just a bigger SD card. The metal pins are slightly different, and some cameras that can read SD and SDHC, can’t read SDXC cards.
SDHC and SDXC have UHS (Ultra High Speed) versions with much faster read and write speeds. For a photographer shooting very high quality photos and video, these are essential if your camera can read them. Otherwise, the camera will buffer, holding data in its internal memory as new data is slowly written to the memory card.
CF cards are much larger than SD cards and have a very different slot. Until recently, the main advantage of CF cards was their higher data capacity and write speed. But the newest UHS SD cards are slowly beating out the best CF cards in write speed. And SDXC card storage capacity is growing as well. CF technology is older than SD, but many professional photographers swear by them. Because the demand is there, many of the newest high-end DSLR models continue to have CF card slots. But mirrorless and compact cameras are too small to use these larger cards.
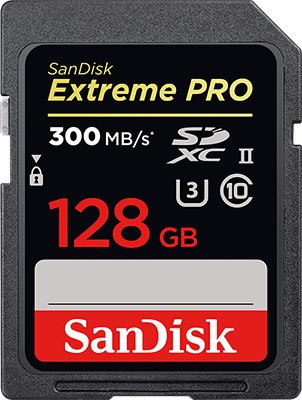
SDXC Memory Card
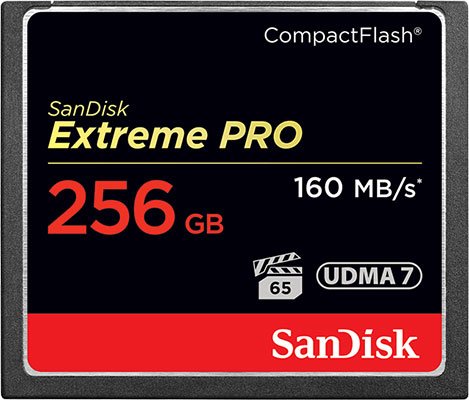
CompactFlash Memory Card
Tripods and Monopods
Tripods come in a variety of sizes and forms. The cheapest ones are less than a foot tall. They sometimes also have legs capable of gripping to tree branches and other objects. While they allow for some intriguing selfie angles, it’s not wise to trust a heavier camera with one. A standard tripod has telescoping legs that can be adjusted to different heights. Plastic and metal are the usual construction materials, or both, depending on the brand. Although portrait photography is where people think tripods are needed, they’re very useful in all types of photography. Any scene can benefit from camera shake being taken out of the picture. Most mid to high-end cameras have in-body or in-lens image stabilization to help counteract this. These use either software or hardware elements to help reduce unwanted blur in your photos. But the tripod remains the sturdiest form of image stabilization available.
Monopods are also an option. As the name suggests, a monopod has a single leg to provide stability. Monopods are used mostly by wildlife and action photographers for additional stability while still being able to move quickly. However, a monopod is not meant for long exposures. If you like photographing the night sky or a scenic vista, a tripod is what you want. But when shooting photos of migrating birds at max zoom length, a monopod will make a big difference. Keep in mind, a monopod is also more portable and quicker to set up compared to a tripod.
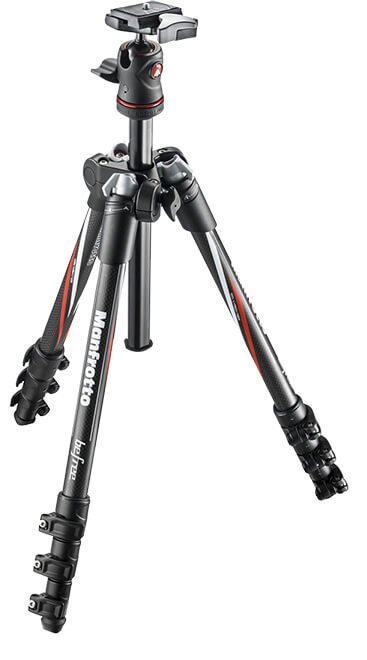
Manfrotto BeFree Tripod

Manfrotto Monopod
Flash Unit
Camera flashes are tools that take a significant amount of skill to use properly. Have you ever seen a photo of pale skinned, red pupiled subjects with sweat glistening from the flash? Simply pointing a flash in a person’s direction regardless of lighting leads to poor results. In fact, natural lighting and proper control of sensor sensitivity and shutter speed will often give better results. But for when the lighting is impossible, your camera flash can be your best friend.
Many cameras come with an on-board flash, while others do not. But those without one will usually have a hot shoe connection to allow for a separately purchased flash unit to be attached. When shooting in auto mode, the camera will often choose to use the flash unit. Many cameras have settings like Red Eye Reduction or Dynamic Lighting, but you have to activate them. Otherwise you can easily make the subject appear worse. Flash usage is a detailed topic, and we’ll be covering it in greater detail later in this course.
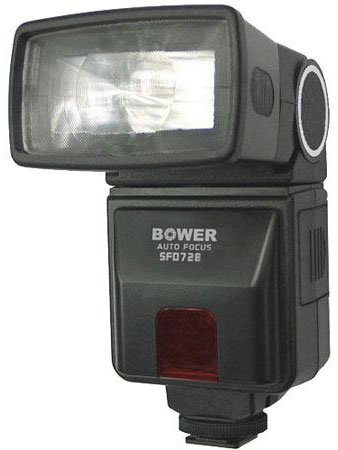
Bower Flash Unit
Lenses
For the DSLR or mirrorless camera owner, lens selection is as important as the body of the camera. They hold their value even when bodies become obsolete. Going cheap on the camera body is better than buying poor quality lenses. And you’ll definitely be buying more than one; three is a good number to start with depending on your style of photography. When considering any lens, the aperture or f/stop range, and focal length (how far the lens can zoom) are the prime considerations. These determine what sort of photography you can create.
The two major types of interchangeable lenses are zoom lenses and prime lenses. The difference is simple; zoom lenses can pan in and out from a subject. The range of that zoom is the focal length of the lens, written in mm. A prime lens can’t do this; it’s fixed to a certain focal length.
While having a fixed focal length sounds like an immediate downside, the advantages are two-fold. For one, the price of a prime lens is always less than a zoom lens with the same aperture. A prime lens will often run from $100-$300 brand new. But a zoom lens that keeps the same aperture will easily be double or triple that price. Also, the optics of a prime lens can be tailored to best suit the photography type the lens is meant for. Sharpness is maximized. And the minor color and shape distortions a zoom lens can create, are reduced or eliminated with prime lenses.
The aperture or f/stop, is a measurement of how large an opening over the sensor the lens can create. The lower the f/stop number, the larger the opening, which means more light is allowed in. Aperture also helps determine how much of a scene is in focus. This is depth of field, which will be covered later in this course.
The maximum aperture of a prime lens does not change. But many zoom lenses drop in aperture as you increase the focal length. You often see numbers such as 50-150mm f/3.5-4.6. This means at 150mm, the widest aperture the lens allows is f/4.6. Both the changing aperture of cheaper zooms and the fixed zoom of primes, are compromises to keep costs down. Allowing the aperture to close as the zoom elements move help keep the lens cheap. Likewise, simply removing zoom elements to make a prime lens keeps it simple and inexpensive.
The best lenses have a fixed, wide-open aperture and a moderate to high zoom range. Because they have the best of both worlds, they will cost the most. A Nikon 50-300mm f/4.5-5.6 will run around $230, yet a Nikon 28-300mm f/3.5-5.6 runs nearly $800. The lower aperture and slightly expanded zoom range make it harder to manufacture. The Sigma 50-100mm f/1.8 runs just over $1000, and is perfect for portraits and macro work. Yet, a Nikon 50mm f/1.8 prime lens will work nicely and costs less than $150. How much extra zoom do you need? We will discuss more about which focal lengths and apertures are useful for each type of photography later.
A final consideration on lenses is the crop factor. Crop factor is how the field of view changes depending on both your lens and the camera body. Specifically, the sensor of your camera body. Most digital cameras on the market have a sensor smaller than 35mm film. A sensor the same size as 35mm film is known as a full-frame sensor. It has no crop factor, because the field of view isn’t reduced. Think of cropping like cropping parts out of a picture. Crop factor is a conversion that 35mm photographers use to understand how the field of view compares using a digital camera.
The crop factor is always listed in the sensor specifications. Let’s say you have a camera with an APS-C sized sensor with a 1.5x crop factor. If your lens is a 50mm prime lens, then with your cropped sensor, you have the same field of view as if you were using a 75mm lens on a 35mm film camera. What does this mean? Essentially that your lens has a bit more “zoom” than you’d expect if you were used to a 35mm view. But as you might already be thinking, this actually has little relevance for someone with no film photography background. For the beginner, the takeaway is that your field of view will vary based on your lens and camera sensor. A cropped sensor has no less image quality than a full frame sensor.
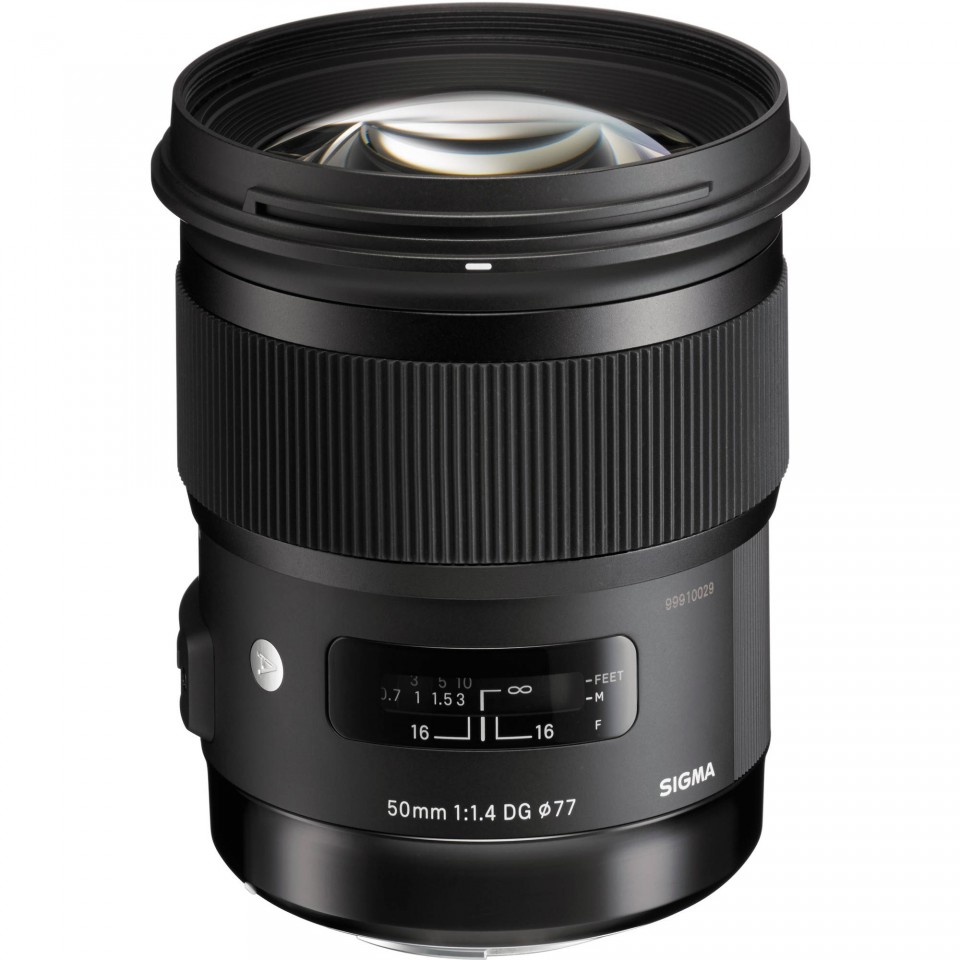
Prime Lens
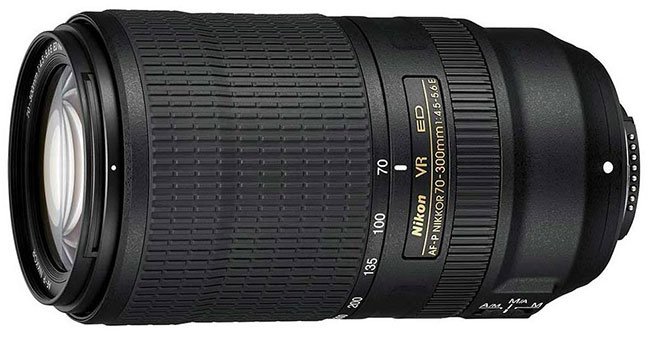
Zoom Lens
Other Equipment
Often when buying a new digital camera, for only a little more money, you can get a camera kit. This kit will usually include a bag, camera, basic lens, memory card, battery, tripod, and other accessories. Most of these have been covered already, but bags, filters, and batteries are worth discussing.
A camera bag is essential for carrying extra memory cards, batteries, lenses, and other gear. Even if you only own a single compact camera, a bag is useful to protect it from rain and dust. A DSLR or mirrorless user will definitely want a bag if they need more than one lens for a shoot. Cotton, canvas, and leather are the most common materials, with blended fabrics and synthetics also available. Always consider where you’ll be doing most of your photography when buying a bag. A wedding photographer will have very different needs from a wildlife photographer. The wedding photographer should consider style and convenience first. The wildlife photographer will consider all-weather protection and strength first.
Lens filters usually come with mid to high-end DSLR and mirrorless camera kits. Usually, you’ll have a neutral density filter(s) and a polarizing filter. Both are extremely useful, but keep in mind that lens filters come in very specific diameters. Camera lens diameters are variable, so your favorite 58mm filter won’t work on every lens you own.
Neutral density filters lower the amount of light reaching the sensor. At first, this seems like a strange thing to do. However, they allow the photographer to use a lower shutter speed. A lower shutter speed means a lot of light is hitting the sensor. If you want to create a photo where a waterfall looks beautifully smooth, you’ll need that slow shutter speed to capture that motion over time. But without a neutral density filter, if it’s a sunny day, everything will look washed out and overexposed. Using neutral density filters and a low shutter speed, the grass around a waterfall will remain the right shade of green. And the waterfall itself will look like a smooth curtain of water instead of a frozen snapshot.
Polarizing filters are best thought of as glare reducers. They filter out some of the scattered light reflecting off of objects and allow the most direct light in. When taking a photograph of a lake on a sunny day, you’ll probably capture the glare on the water’s surface. With a polarizing filter, you can capture the rocks and fish under the surface. Polarizing filters also deepen the color and contrast of a bright sky for the same reason. And when taking pictures through glass, you’ll want a polarizing filter to reduce or eliminate glare from the image. Lens filters are very specific tools, but even if you didn’t get them for free, they’re well worth buying. Other filters such as color filters exist as well, but neutral density and polarizing filters are much more commonly used.
Batteries are sometimes overlooked, but are essential to the digital photographer. DSLR cameras tend to have moderate to high battery lives of 500-1500 images per charge. This is because viewfinder takes no power to use since it uses mirrors. Compact cameras and mirrorless cameras use either the LCD or an electronic viewfinder, which consumes more power to create an image. Also, the smaller bodies of these cameras need smaller batteries to keep them compact. So 200-450 images per charge is standard for compact and mirrorless cameras. Extra batteries are a wise investment to ensure you have enough power to make it through a day of photography.
Camera Bag